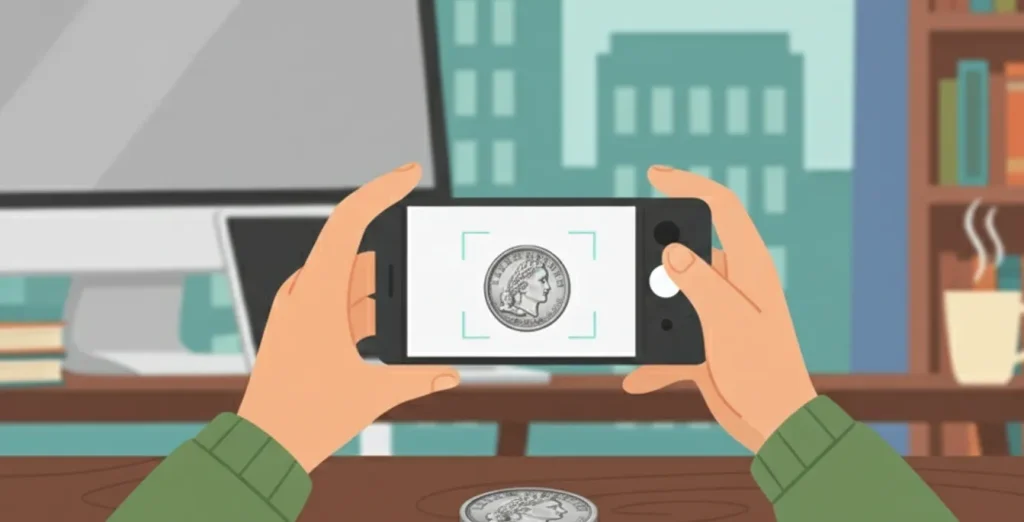
Getting high-quality close-up pictures of coins, letting us see small defects, types, and making features, doesn’t require a big camera.
New phones, having better light sensors and computer picture ways, can give enough detail for coin values study work.
The main stop for good close-up photos is not the sensor itself, but the lack of optical zoom and the problem of light and steady control.
Using a series of easy, available solutions, you can change a normal phone into a useful tool for making professional-looking pictures.
Main Problems of Close-up Photos on a Phone
For successful photo-taking, working past the technical limits present in phone cameras is needed:
- Limited optical zoom, not allow for getting the object close enough without losing quality
- Small focus depth at near distances, making only a small part of the coin sharp
- Camera movement sensitivity, causing the picture to be unclear even with small hand shake
- Hard light control often causes bright reflections and shadows on the metal coin surface
Fixing the Zoom Problem
To reach the needed zoom without losing quality, a special clip-on lens or a coin scanner app is used.
These lenses are the most affordable and effective way to get optical zoom.
Choosing Close-up Lenses
Lenses with a zoom strength from 10x to 20x become the best choice for taking pictures of the whole coin surface or its larger parts.
A higher zoom strength can make the focusing process harder.
Lenses must have a strong way to attach to the phone body, ensuring the lens centres lines up exactly with the centre of the phone’s main camera.
Lenses with a clip or a screw-on part work best.
Choosing lenses made of glass, not plastic, is important, as glass parts give better sharpness and minimal bad light effects at the picture edges.
Photo-taking Method with Lenses
The lens is attached right in front of the phone’s main camera.
In new multi-lens cameras, choosing the lens having the most physical resolution and the smallest opening is needed.
After setting the lens, the focusing distance becomes fixed, being just a few centimetres from the lens to the coin.
Sharpness is set, not by moving the camera focus, but by physically moving the whole phone near the object.
For an exact sharpness setting, using the manual focus function, if available in the camera app, helps.
If manual mode is missing, touching the phone screen to force auto-focus on the coin’s most useful part is done.
Fixing the Steady Problem: Fixing and Stands
Any phone movement during close-up photo-taking, even a small one, leads to blur. Stopping this requires firm fixing.
Using a Stand and Holder
- Choosing a small table stand with bendable legs or one with having angle setting ability is helpful.
- Making sure the holder lets the phone be set straight across from the coin’s flat surface is needed.
Other Steady Methods
- Using stationary objects as a stand choice: piles of books, cans, or boxes.
Setting the phone on the support, making it as close to the coin as possible, and ensuring it cannot move, is useful.
- For the final picture taking, using the timer or the voice control function helps stop the shake coming from touching the screen.
- When a very low shooting angle or shooting straight down is needed, using a structure having a stand with a long horizontal arm or an L-shaped support is necessary.
Light Control
Light is a deciding factor in close-up photos of metal surfaces. Bad lighting will hide small details and create unwanted reflections.
Using Spread Light
Spread light makes soft shadows and minimal reflections, letting us see small relief changes and patina.
The best source of spread light is natural light coming from a window.
Using white paper, tracing paper, or a piece of dull fabric as a light spreader is helpful. Placing the light spreader between the light source and the coin is useful.
Making a Light Dome
A light dome is a closed shape with dull walls, ensuring the coin is lit evenly from all sides.
The dome can be made from a white cardboard box, cutting holes in its sides and covering them with tracing paper.
Placing two or three light sources outside the dome, directing the light through the spreading walls, helps.
For making the relief stand out, using the “angled lighting” way is common: directing one light source at a small angle to the coin’s surface, using a second, weaker source to fill the shadows.
Setting White Balance
- Not using automatic white balance is wise, as it can change the patina’s colour. Using manual mode, setting the white balance based on a clean white sheet of paper next to the coin is needed
- Applying a colour temperature in the 5000K – 5500K range ensures the true colour of the metal and patina shows correctly
App Settings and Post-processing
After making sure things are steady and the light is right, setting the best coin identifier app camera correctly is needed.
Camera Settings
- Shooting in Pro mode allows control over ISO and shutter speed
- Using the lowest possible ISO number helps avoid digital noise, which can hide small details
- Setting the shutter speed fast enough to stop blur, but not so fast that ISO needs to be raised, is necessary
- RAW format saves the largest amount of colour and light data, giving more chances for post-processing without losing quality
Post-processing
Cutting the extra space around the coin focuses the viewer’s attention only on the object.
Adding a small amount of sharpness in the editing app helps show small relief details, but avoiding too much sharpness, which can create digital problems, is needed.
Raising the contrast helps separate the relief from the coin field better — doing this carefully ensures details in the brightest and darkest areas are not lost.
Picture-taking Work Process
An organised way ensures a steady, good result.
- Setting the phone in the holder on the stand, fixing it straight across from the coin’s surface, is the first step.
- Attaching the close-up lens to the camera, making sure it is straight and clean, is needed.
- Placing the coin on a black or dark, dull background is useful.
- Building the light dome or setting the light spreader between the light source and the coin is needed.
- In the camera app, turning on Pro mode is helpful. Setting the minimum ISO is next.
- Setting the white balance, using a white sheet of paper, helps.
- Moving the stand with the camera until the coin is sharp, then making fine sharpness changes using manual focus, is done.
- Using the timer or voice command for taking the picture, avoiding physical touching, is best.
- Checking the final picture. If needed, post-processing to fix contrast and sharpness is done.
Conclusion
High-quality close-up photos of coins on a phone can be achieved without high cost, needing attention to only three main points: optical zoom, reached with cheap external lenses; steadiness, given by a stand; and light control, reached using home-made spreaders and domes.
Correctly using camera settings, especially low ISO and manual white balance, ensures getting sharp pictures useful for careful coin study.